
|
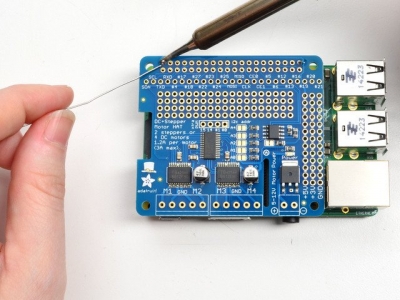
Well, all went well with soldering up the MotorHAT. In fact, we downloaded the software from Adafruit, fired it up in Python, and went through a sequence of first moving a single motor, then moving two motors just using SSH and Python locally on the Pi, with the device on the bench. |
|
|
I started with just a listener, but here is what I'm running now. This code listens to any changes in network tables, and then filters out anything that has to do with the forward/backward axes on the two joysticks. This is NOT production code BTW. It's a hack to get things to work. |
 |
|
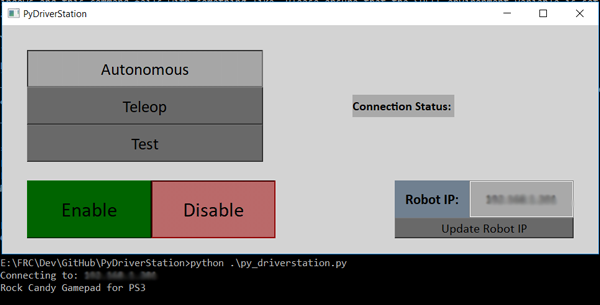
Now, I can connect the player console to the Windows laptop, and startup the pydriver station. Run the code above on the pi, and Voila! You can move the motors with the joysticks. Teleoperation! |
 |
|
|
|
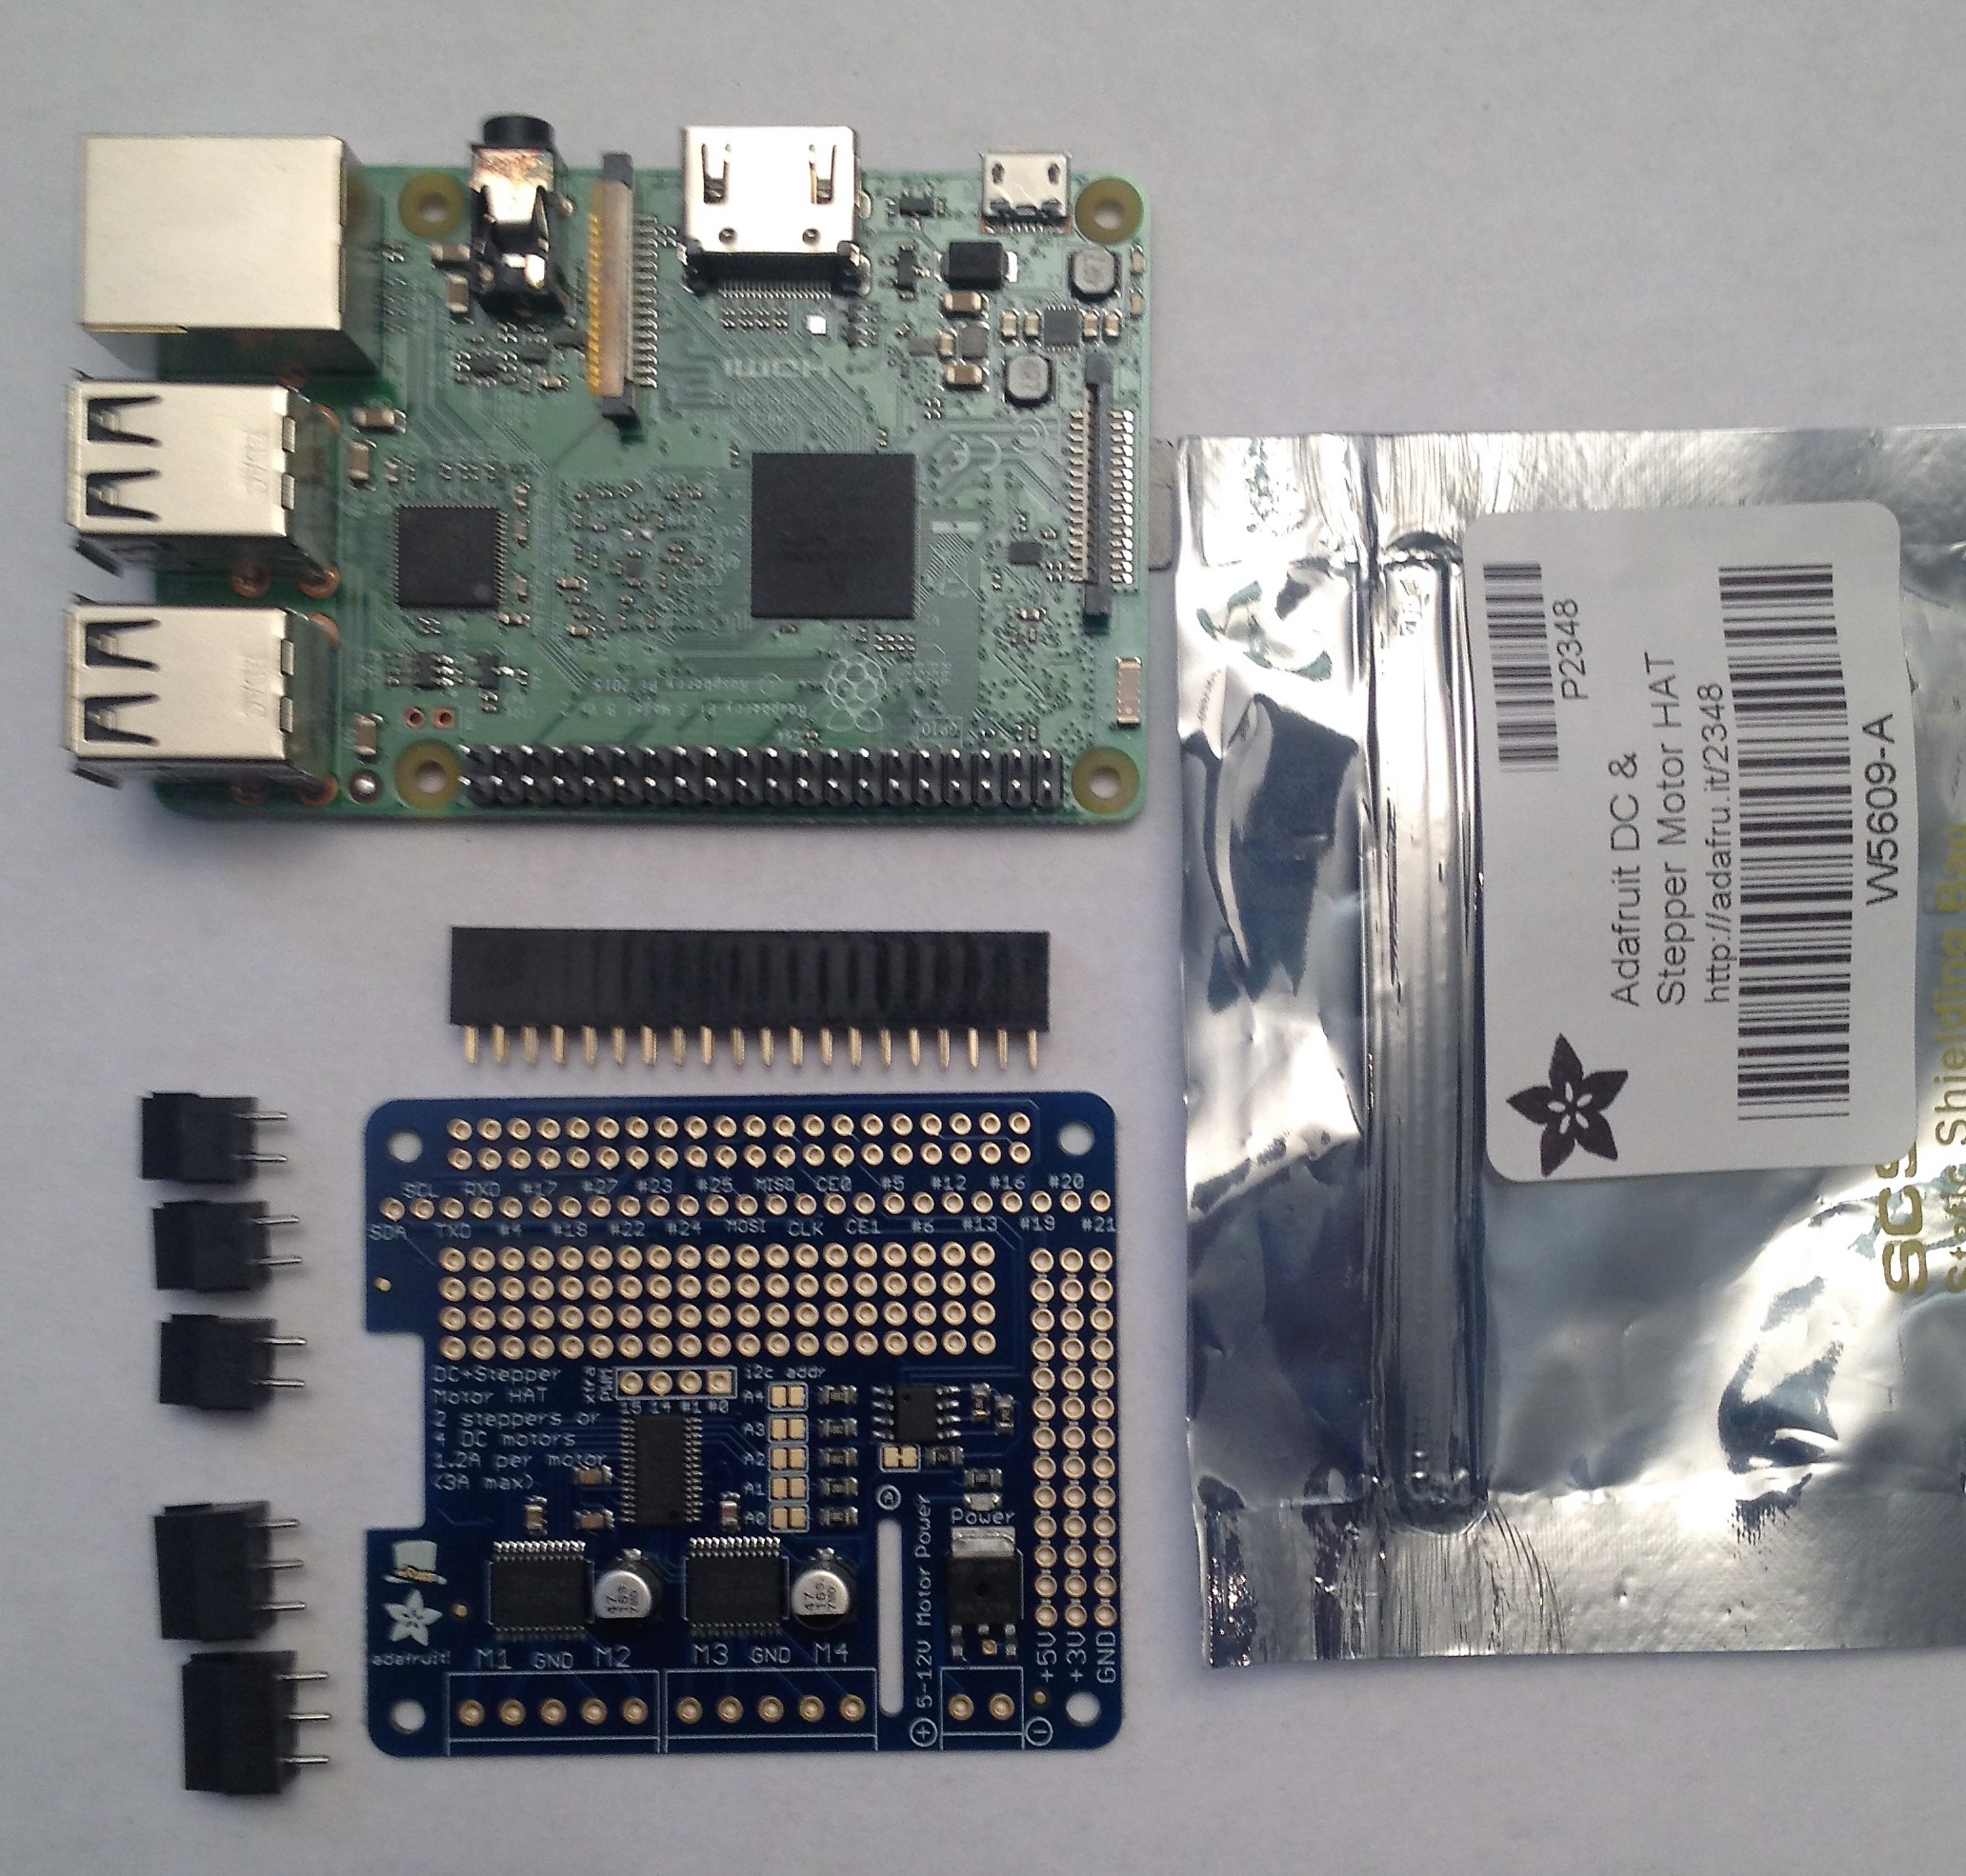
My MotorHAT came in the mail from Adafruit. Always a happy moment when parts come in the mail. |
 |
|
It's pretty easy to do, once you get the hang of it. |
 |
|
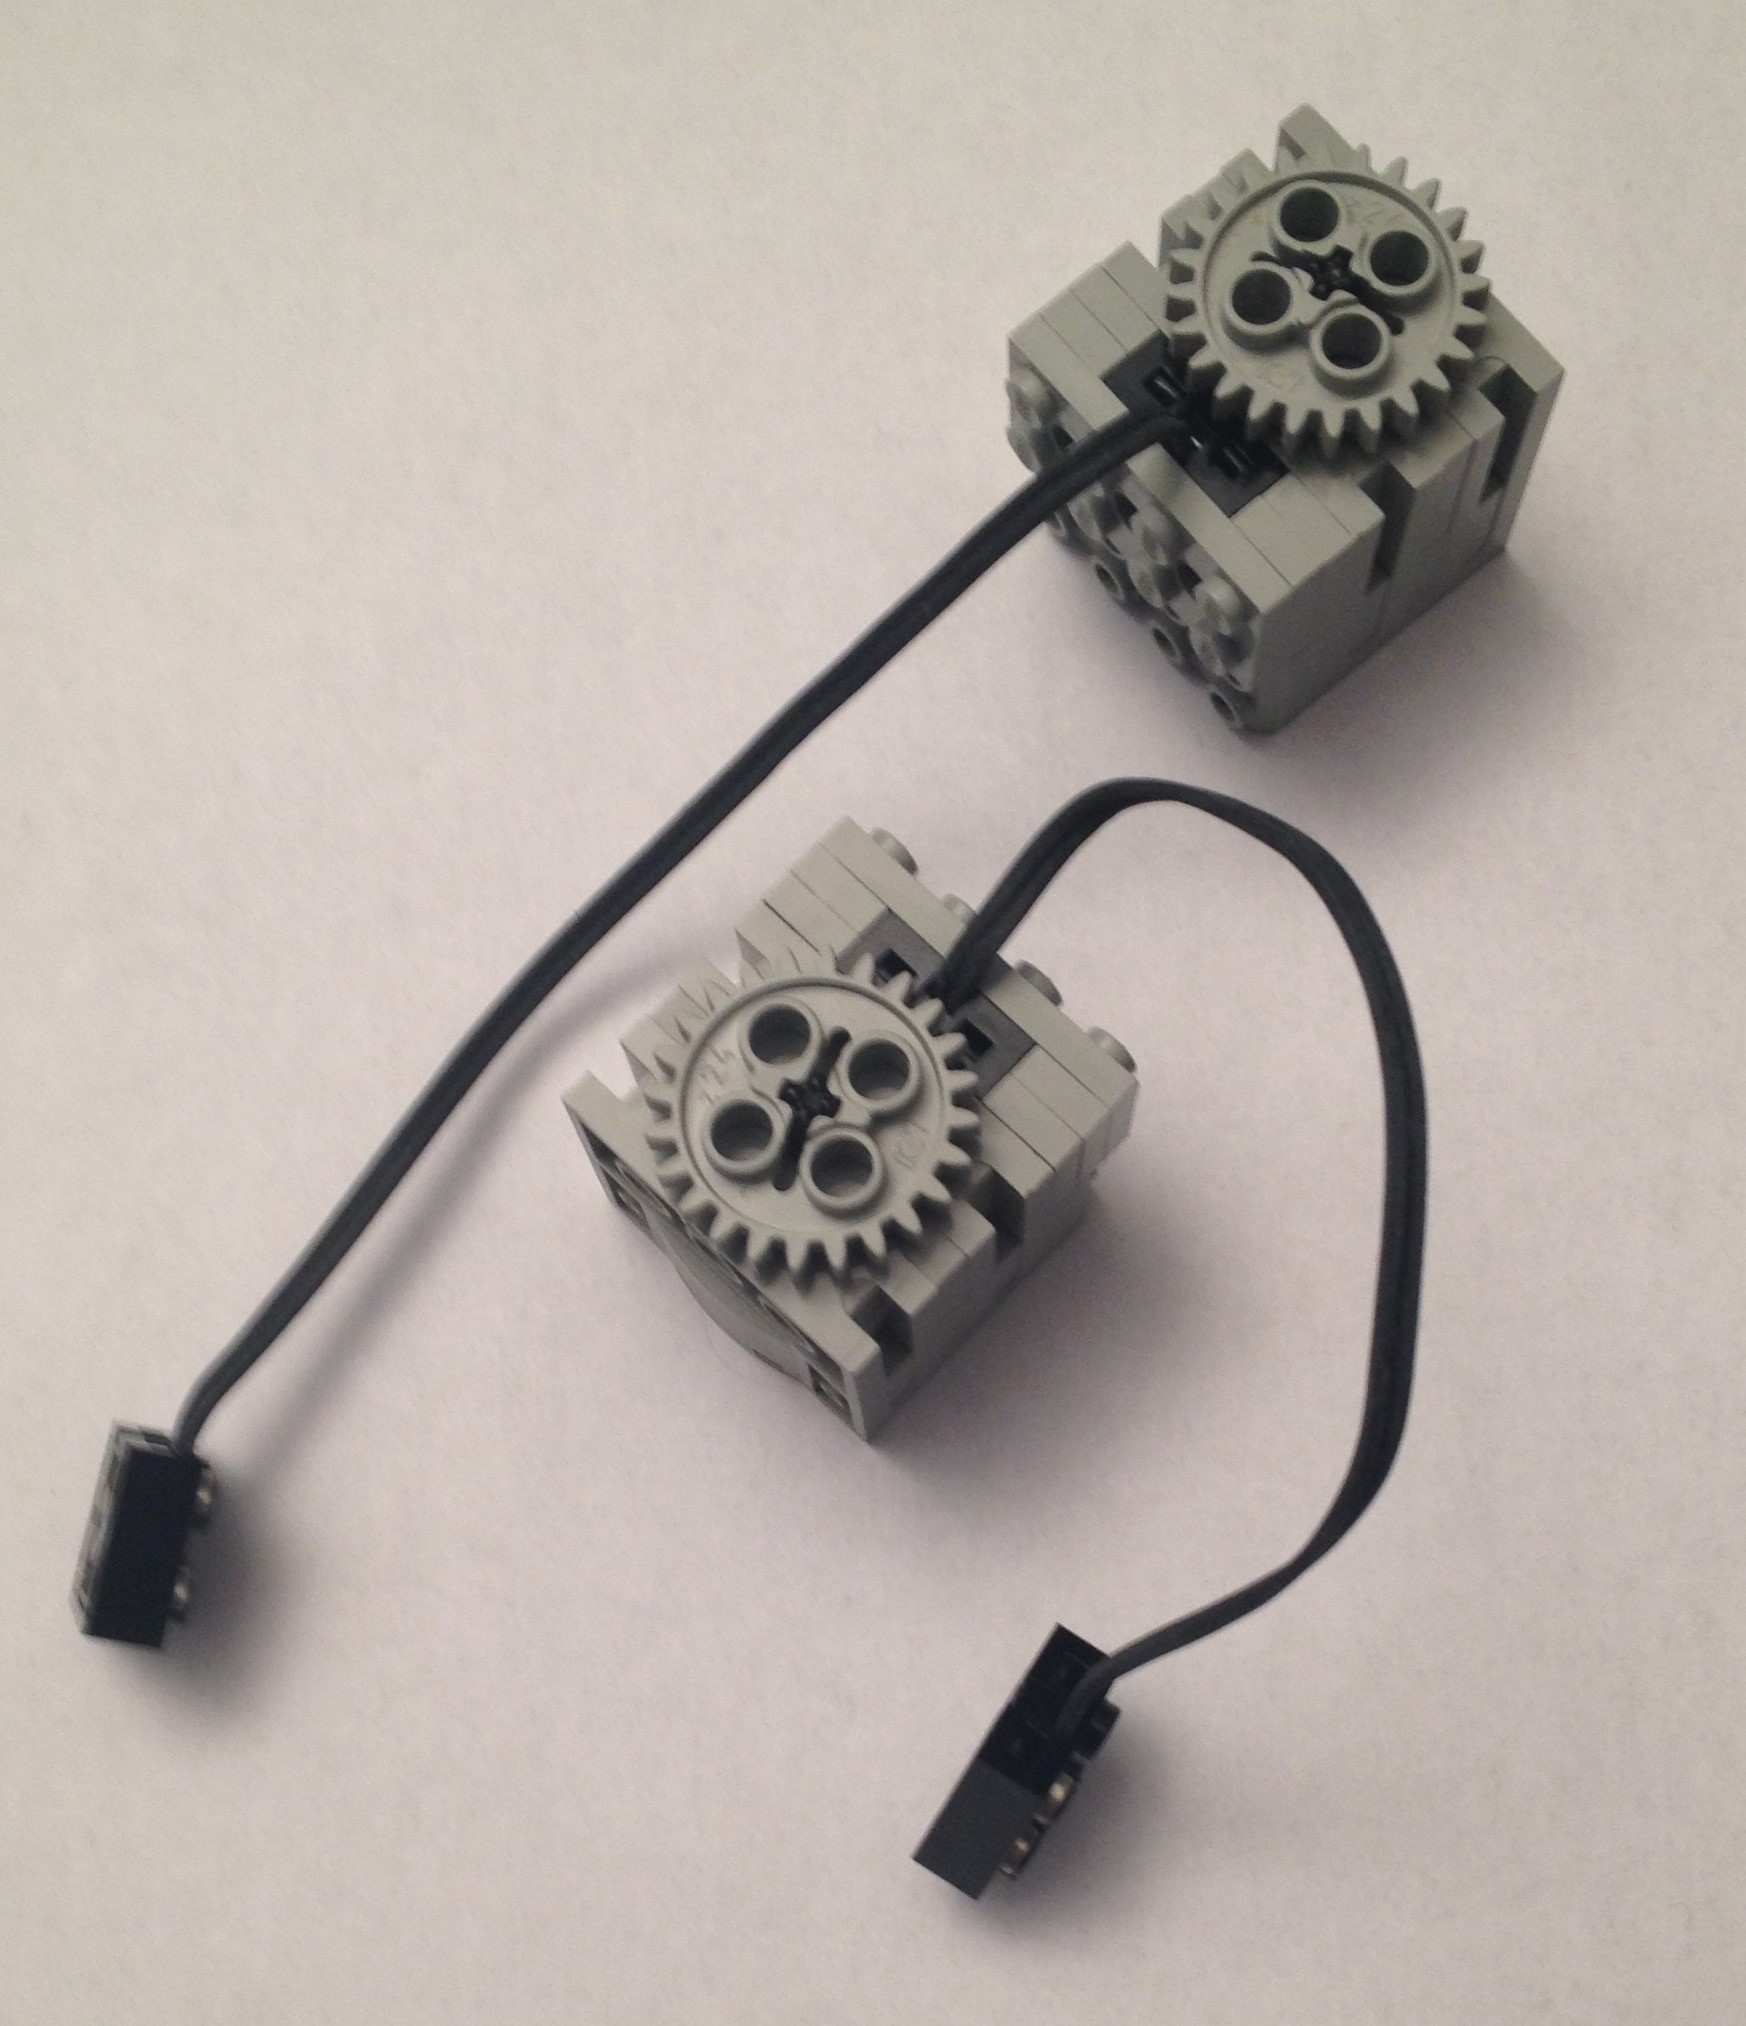
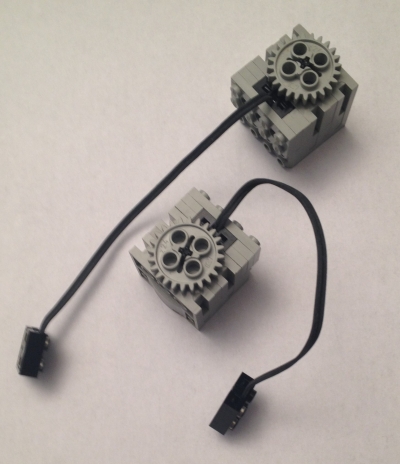
Once all the soldering iwas done, I needed to wire in one of the motors I had from my old Lego set. Not exactly production worthy, but I wanted to make sure I could get a motor to turn. I had an old variable voltage power supply that I hooked up to the power terminals on the MotorHAT. |
 |
|
Next, I downloaded the Adafruit library that goes with the board, and found a nice place for it on the Pi. Follow these instructions carefully, they've done a good job documenting the process. I was psyched! |
|
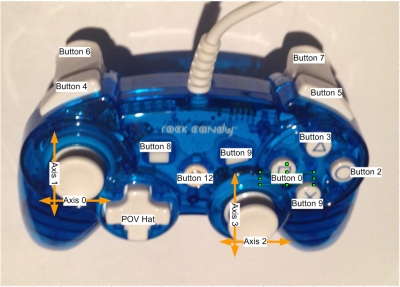
I wanted to include "teleoperation" in the PiBot. That meant that I had to setup a driver station. I needed some type of joystick or gaming console. So, I found a local Game Stop, and bought a refurbished one for about $15. This "Rock Candy" job should do the trick. I know that at some point, I'm going to need to map at least the axes of the joysticks to drive the left and right motors, so I found an open source Python program, called "Joystick Analyzer" (based on PyGame library), that let me plug the console in the laptop, push buttons, and see what axis or button was being pushed. From that, I'm sure later, I'll see it someplace in the robot software and do something with it. My thanks Mike Doty for his contribution of Joystick Analyzer that helped me map this console. |
|
|
Now that we have a physical console and a map, we need to figure out how to hook this up to the bot. Scratching my head, I wondered if someone else had the same idea of using Pi based robots in the FRC off-season, and thought, well, let's pull up DuckDuckGo (a competitor to Google search engine, can you believe it?) and search around. # Pigmice Python DriverStation Here is the repo I downloaded. With a little setup of the Python environment, it came right up. Thanks to the Pigmice! You made our off season a lot more productive! |
 |
|
There was only one problem. The py_driverstation program came up, but what was it doing? I scratched my head, and thought about the software/networking architecture used during FRC competition...and knew there was this thing called "NetworkTables". # NetworkTablesMonitor
This one was a Java app, developed by Team FRC 2706, Merge Robotics hailing from Ottowa, Canada.
Thank you Merge Robotics for this useful tool.
But wait. This isn't working yet. |
|
|
Question #1: Where to start? Well, if we're going to get something to move, we might as well start at the bottom of the "stack". Given that FRC uses all DC motors (steppers and servos are for more precise motion control), we should start there as well. Since we are working with the RasPI, motors need to be smaller. 12VDC motors (without proper power protection) would fry the Pi. Fortunately, I happened to have an old Lego Mindstorm set I bought my kids when they were little (all the way back to the RSX...). I found two Lego motors that should do well. |
|
|
Of course the RasPi has lots of low power I/O capability (Digital Inputs/Outputs, UART, SPI, I2C, PWM), but not enough to drive multiple motors. So, we're going to need a motor controller board. We want something small that works well with the RasPi, but enough to drive motors at between roughly 3-6 VDC. I chose this one from Adafruit. While I was at it, I ordered another Pi (I wanted to dedicate one to the robot and I'm using my first one). I also ordered some standoffs (to keep the RasPi and the MotorHAT separate but well supported), a power supply and an SD card for the RasPi. Between these new pieces and the left over parts I should have enough hardware to get started. |
 |
|
Just a note about power supplies...I'm going to start with all the pieces on a prototyping board, connected with two separate plug in power supplies, one for the RasPi, and one for the motors. We need to keep in mind that eventually we need to be mobile. For the RasPi, I plan on using one of those tube like rechargable batteries that generates 5V (used frequenlty for cell phones), and a separate battery pack for the motors. Probably a holder for 4 AA batteries. That should give 6V for the motors, and separate 5V for the Pi. OK, so parts on order, some parts on hand, time to think about software and how we're going to drive this thing around.... |
|


|
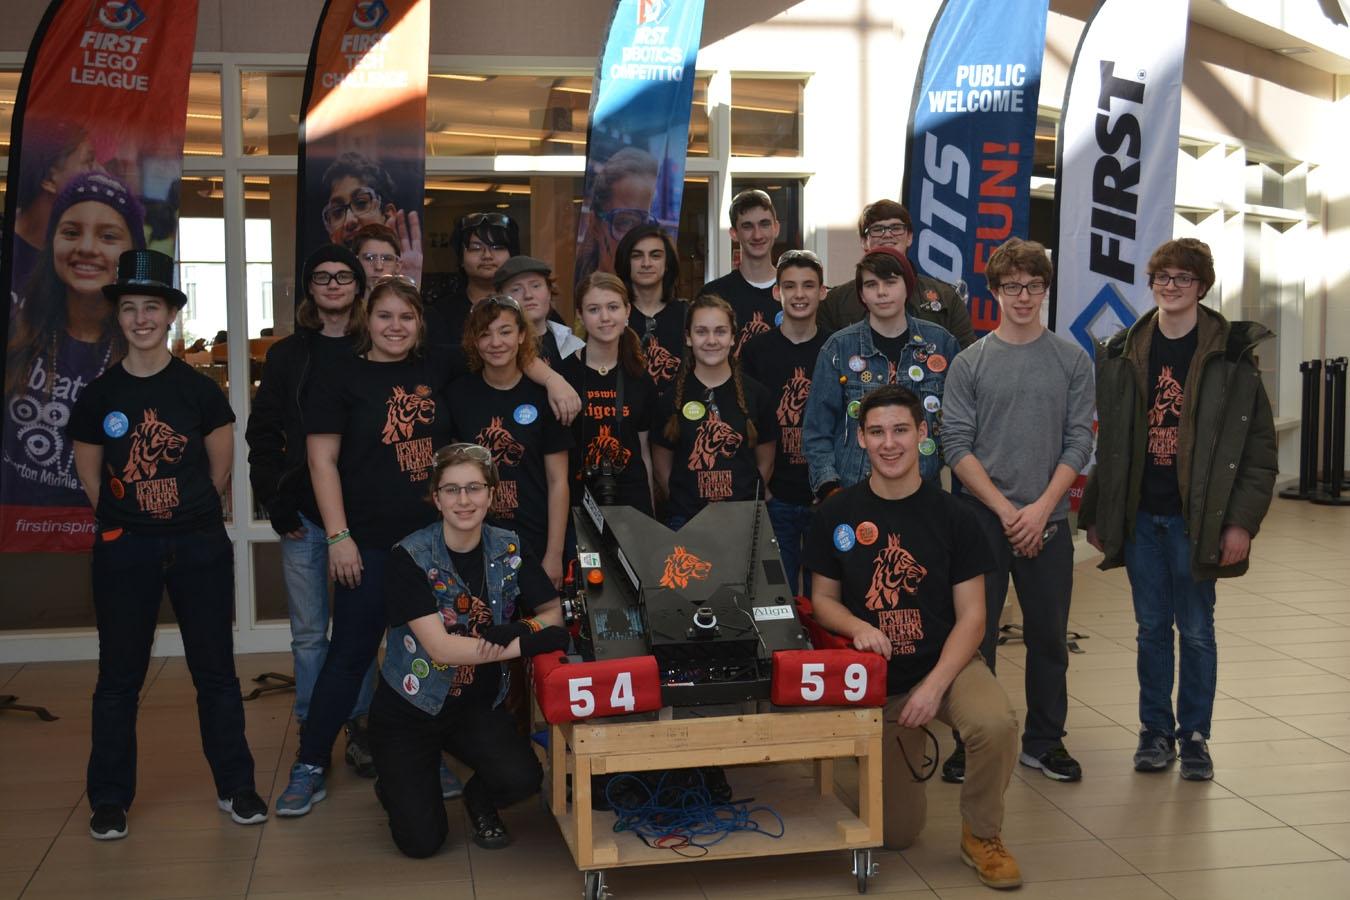
My name is Charlie Peppler. I have always had a passion for using computers to move things and make things. I've spent most of my career in connecting computers, devices, databases, and of course people. More on my background and why I started doing this later, but the first question is: What the heck is a "Mentor on a Mission"? I volunteered as a mentor for First Robotics Competition (Team 5459 - Ipswich MA). I enjoyed the experience, but after the dust settled on build season, I realized that there is a big gap between students who might be interested, and the technical skills necessary to be fully involved as a functioning team member during the intense 6 week build season. |
 |
| I enjoy connecting hardware and software to do interesting things and wanted to learn more about FRC and building robots (along with students) during the off season. I started thinking about what would be necessary to create a minimal working testbed in my home to work with and learn all the various components. | |
| I quickly realized it was cost prohibitive to recreate the Kit of Parts (RoboRio, Power Distribution Panel, Player station, motors etc.) used in real competition. I didn't want to spend the money, and for more kids to get kids "hands on", there is a real need for a cheaper "on ramp" platform to work on basic skills (mechanical, electrical, software), that would prepare for having fun, and being productive and successful through the build season leading to FRC competition. | |
| Turning around in my office chair, I looked at my trusty Raspberry Pi. I bought it over a year ago, connected it to my home network, and ever since have been experimenting with various software projects, connecting hardware and open source software. I've wired up an RFID board to the Raspi, written a driver based on libnfc and connected it to MQTT (future blog post?), hooked up LEDs and switches, and driven them with a variety of programming languages (C, Node-Red, Javascript, Java, Python, MySQL). This thing is extremely capable, has lots of available development tools and open source repos, it's expensive, and has proliferated widely. Some advanced FRC teams are already using the Pi3 as a vision co-processor. | 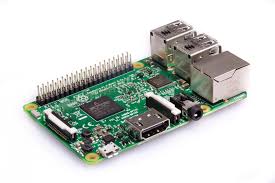 |
| My mission became clear. I wanted to recreate a stripped down version of the FRC competition environment (player station, robot comms, robot software, mechanical and electrical) that would allow me and students to learn, work and play in that gap between Lego Mindstorm and full blown FRC competition...at an affordable price! |  |
|
If we could get that all running, there's plenty of headroom to learn more. Thus ...Mentor on a Mission. PS, I'm recruiting presently recruiting like minded mentors to help make this platform a reality. If you're interested contact me. |
Don’t get caught…even if your manufacturing firm is small
Written by cpeppler
It seems that every piece of marketing material out there is chock full of new terminology like "IIoT", "Manufacturing 4.0", and digitizing the factory floor.
What does all this new terminology mean? Small manufacturing firms can be under resourced and overstretched just to get product out the door, let alone trying to understand what all this terminology means, let alone trying to bring that onto their shop floor. Some get the value of bringing new technology down to the floor, but they don't have the time to understand why it's important, or how they could use digital technology to lower costs, improve time to market and increase quality.
Think about it. Digital technology has made it's way into every corner of society, right into our very homes. But the factory floor? Many struggle to keep up with the information required to keep operators aware of the product they're making, and how to execute the process steps necessary to build that quality product.
The problem is, digital manufacturing is rapidly becoming a competitive edge for some firms. They can see what's coming, and think digital from product design right through production and their place in a supply chain.
Younger managers have been brought up in a more digital age, so the thinking is natural, but they may not yet have the authority to bring it onto the manufacturing floor.
Both the cost and deployment time to bring this technology into the mainstream of operations is coming down quickly. The winners in the competitive battle will adopt these new approaches with gusto, and learn how to leverage them. Don't get caught by a competitor who's made the leap. Even if you're small.


